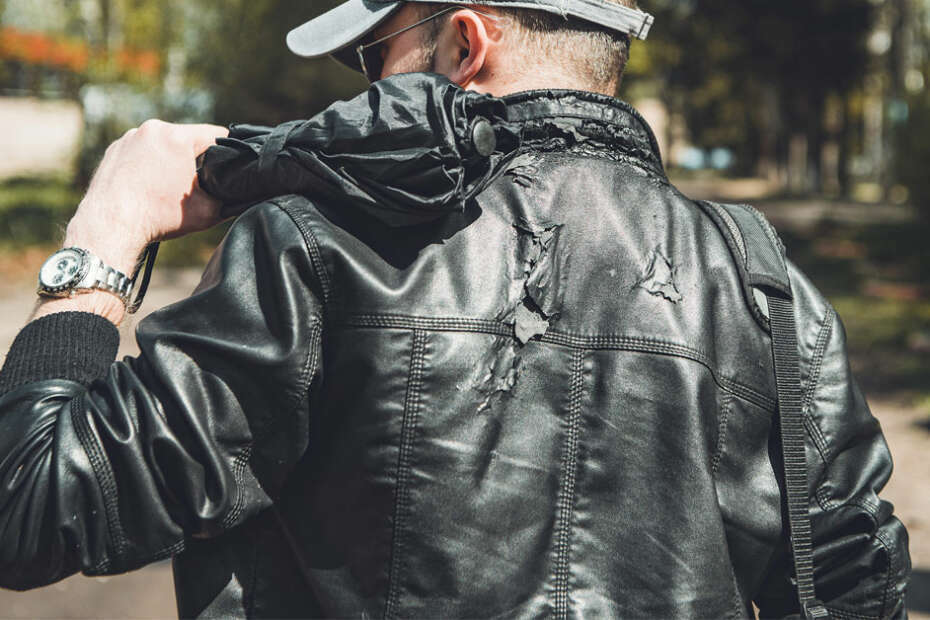
Leather is a luxe element that is considered to be an asset and is supposed to last decades as it is considered as an investment. There are various types of leather that happen to crack and peel over time, and due to rough use, the jacket might suffer ripping too. There are ways in which you can easily fix your ripped leather jacket.
Maintaining a custom leather jacket can also require special care, especially if it features unique treatments or embellishments. Regular conditioning and careful handling can preserve both its appearance and longevity, ensuring your investment remains in excellent condition for years to come.
What To Expect In This Article?
Tools
In order to carry out the process, you will be needing various tools, which you can easily find in any hardware store. The tools include;
- Sewing Needle
- Sewing Thread
- Seam Ripper
- Tape
- Fabric (Preferably leather patch same as the leather used on the jacket)
Process
The process includes 7 steps, which involve the following steps, in order to get the best possible result. You don’t have to worry about exploiting the look of your leather jacket as all the work will be done inside-out.
1. Placement
First of all, you need to take your jacket and fold it inside out as the leather patch would be sewed underneath the lining of the leather jacket. Take the jacket, pull the sleeves out, and lay the jacket flat from where it ripped.
2. Tearing
If your lining is still intact, you might need to take some scissors and cut the cloth in order to reach the ripped leather piece from the inside. You don’t have to worry about tearing your jacket as only you will know about the surgery you have performed.
3. Align
Now as you have reached the main part, you will need to align your torn leather patch to its end in order to sew exactly from where it has been ripped. You can get help using the tape. Cut the tape, lighter down the stickiness of the tape by sticking it to a wall or wood, align the piece, and tape it to place to get utmost precision while sewing.
4. Get The Patch!
Now, the leather patch you chose. Align that patch to the ripped area from underneath the leather jacket right through the lining. Now you are all set to sew the jacket in place.
5. Stick It!
Before carrying out the sewing, there is one more thing you need to take care of. Take your fabric glue and paste the leather patch to its place so there will no chance of error. Wipe the excess glue and leave it to dry on its own.
6. Sew it Away
Lastly, now you can start sewing the leather patch to the jacket. You can choose from the different stitch types of leather and choose one yourself. Keeping the stitch simple can be more helpful.
7. Finishing Touch
Now as you have now sewed the patch you can now close the jacket’s lining. You are supposed to sew the lining of the jacket as it is something which only you would know.
Conclusion
These are the steps that need to follow in order to cure your ripped leather jacket to sustain its style element and look. Your leather jacket is now ready to rock and roll.