Color plays an important part in elevating appearances. It can be anything from apparel to products, furniture, vehicles etc.
Aside from this elevation, it also has the ability to shed light over the temperament of an individual as well as dealing out mood changes that may vary from person to person. It is, therefore, not uncommon to hear people talk about green, for instance, being a soothing color or blue that gives out a feeling of coolness.
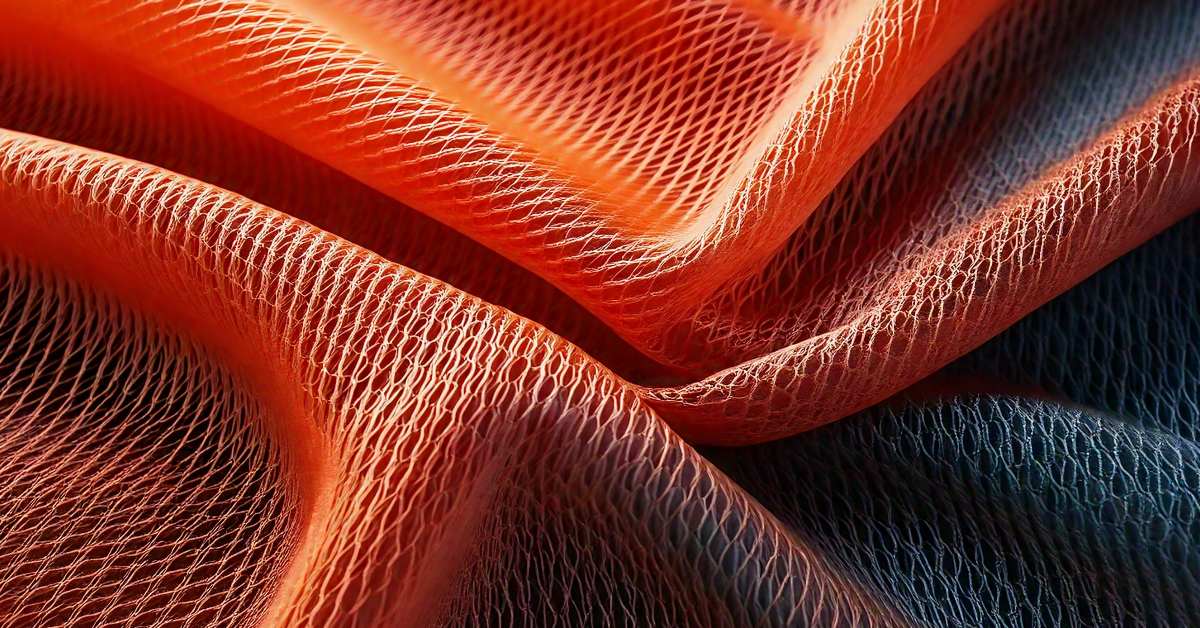
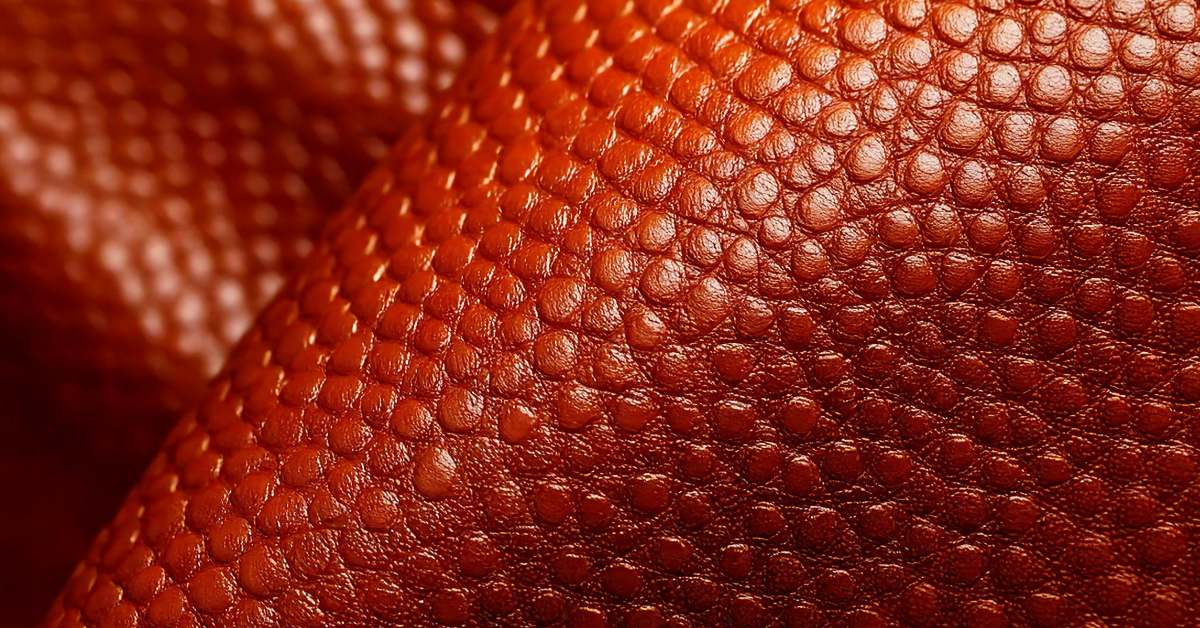
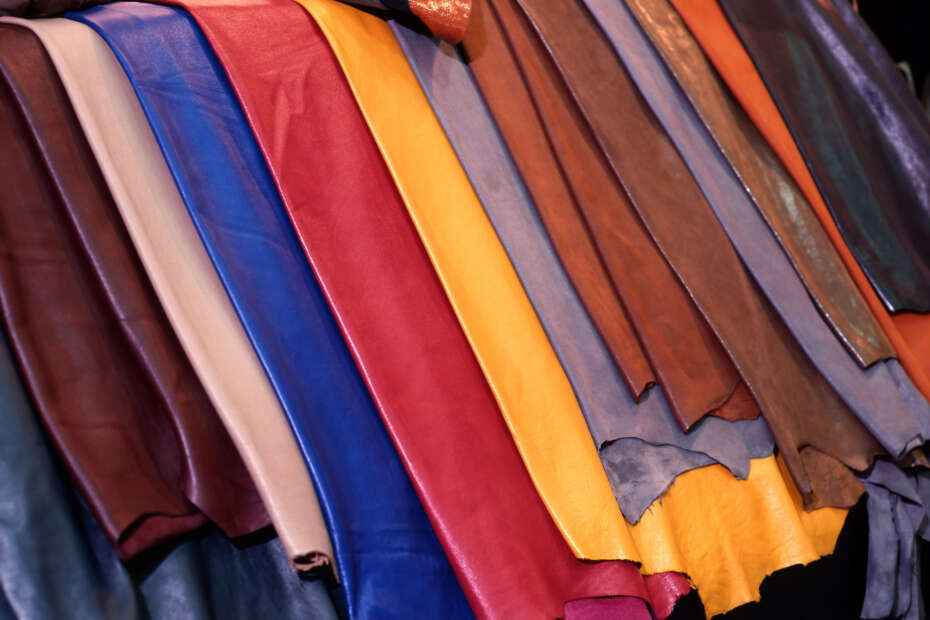
Pertinent to leather, color has the ability to highlight great impact depending on the hue that is chosen or how it is used.
There are many different types of dyes and finishes, color tones and styles available at The Jacket Maker that has customers impressed. Below we run through some of the most important ones as well as those that are used pretty often.
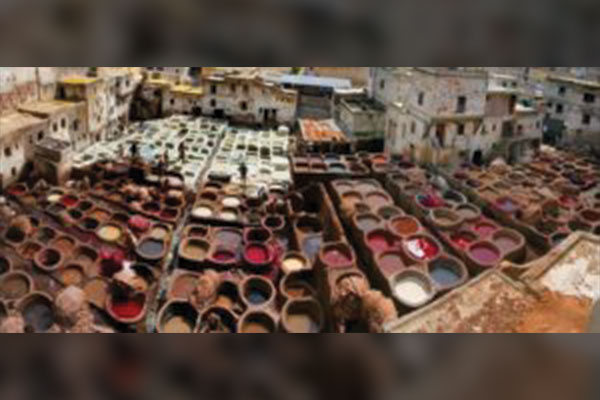
First off, it is important to note that the primary color of leather totally depends on the method of tanning that is used. For instance, in vegetable tanning, the leather is dyed brown whereas in synthetic tanning it is dyed white or as in chrome tanning the leather is dyed bluish grey.
The dyeing process itself is divided into two types, one that is where the colored leather sees dyes penetrating the surface and colored through on both sides, and two, when the pigmented area is colored in addition to being dyed through. Let’s elaborate a bit on these two types below.
What To Expect In This Article?
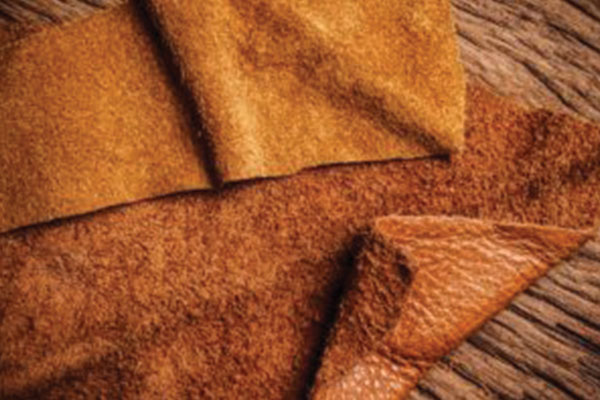
Colored Leather
Post-tanning, the leather is first dyed in most cases, which is achieved by soaking the leather in big barrels of dye. The dye is later fixed and any excess dye is rinsed out to avoid it rubbing off on anything later.
Since the dyes are transparent, they can only be dyed in darker colors, most of which are referred to as aniline dyes. In bygone eras, azo dyes were used for similar purposes but soon became outlawed as they were considered harmful.
In cases concerning lighter colors, no additional dyes are applied only so that the results when viewed in cross-section appears as bright as possible; almost white in certain cases.
Regarding Suede or Nubuck, the leather can only be dyed as some of these have either an embossed or additional print or pattern running over the surface.
Pigmentation
A protective coat of paint pigment is sprayed after the leather has been dyed through. This is especially common in furniture leather, bags, apparel, and shoes. This type is easily recognized by doing a simple test of rubbing a drop of water on the leather.
If the water does not penetrate the surface it is pigmented leather.
The smooth leathers are often designated based on the thickness of the deposited pigmented layer. For instance, aniline leather has no layer of color, semi-aniline leather is identified by the use of little paint as well as hair pores that are still visible.
Pigmented leather, on the other hand, has lots of colors and the hair pores are only slightly visible if not totally invisible.
By now you would agree that dyeing leather is more of an art-form as opposed to science that many tend to relate it to. Therefore the type of process, skill of the artisan and experience in the field all contribute to the impeccable results that The Jacket Maker is really proud of.
Diving into how leather is really dyed, it is important to keep in mind the three basic stages which are used. These are the preparation of the leather before dying, application of the dye and lastly; finishing with a top coat.
Preparing the Leather for Dyeing
Stepping back into the tanning process just for a second, to point out the number of protective coats and conditioners used on the leather hides and skins as well as the dust and grime that may develop over the surface due to time keep makes for lots of prepping ahead of the dyeing process.
The leather surface has to be as clean and byte friendly for the dye to catch on with relative ease.
Application of Dye
After preparing the leather it is vital to ensure that the dye is mixed well before application. A couple of useful tips is to either use a stick to loosen any dye that may have gotten stuck at that bottom of the vessel or if possible give the vessel a shake to make sure the dye is well mixed.
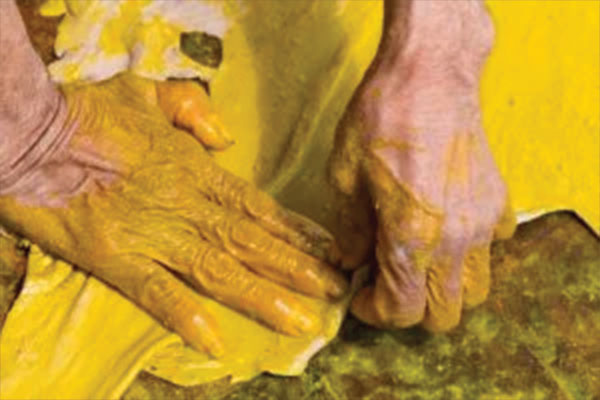
Application of dye can be done by using a cloth or sponge whichever works best for you.
Begin by using thin strokes moving in one direction but if the surface to be dyed is big, consider using a spray gun or airbrush to prevent any mishaps as well as ensure even coverage.
It is possible that a second coat may be required and often several coats until the desired look is achieved, usually after three to six coats, in which case it is best to work the second coat from the opposite direction moving back to from where you first started.
So on and so forth for as many coats as needed, but only when the previous coat is completely dry which would also require you to manipulate the surface to ensure it is still supple.
The second coat onward is often done in horizontal strokes in an alternate manner for each coat and is advisable to use a white coat first for a light tone and for a darker shade to use a black coat first.
A fun fact when using yellow dye is to apply a white coat first and then the yellow as the dye will catch on more vibrantly and smoothly as yellow dye formulas are known to be light and slightly translucent in nature.
Allow the leather to dry for at least 24 hours, picking it up and flexing it periodically to prevent it from becoming rigid. Don’t forget to use gloves when doing this as the leather may be sticky at first but should disappear after buffing or applying leather sheen.
Buffing with a cloth removes any residue of dye and also gives the leather surface a polished look. Leather sheen is used to leave a shiny finish on the leather.
Mixing Colors
When yellow is mixed with blue you get various shades of green, whereas when yellow and red are mixed together you get different shades of orange to red. Red and blue mixed together gives you shades of deep purple to light lavender, whereas red and purple give you shades of wine.
To get a tan or golden brown color, mix brown and yellow and for maroon to dark brown all you have to do is mix brown with red.
Finishing with a Top Coat
After the first two steps are completed and the leather has dried, it is best to use a top coat that prevents flaking or peeling and protects the finish of the leather. Top coats for leather have quite a variety that includes acrylic satin finish, gloss finish with carnauba wax and acrylic matte finish.
Pigmented Protected Top Coat
This is often if not always applied to auto leather i.e. leather used in vehicles or motorcycles. The finish is achieved by using leather paint, which is an opaque color leather dye.
Types of Finishes
We now cover the different types of finishes that are used in leather dyeing. Finishes are equally important if not more, as the color itself, as it helps to boost the appearance of the color as well as the leather product on which it is used.
Aniline and Nubuck or Suede Leathers
These types are attained by using semi-transparent aniline dyes. As a result, the natural markings or scars on the hide or skin is still visible through the finish.
Known to be the most expensive finish, aniline has amazing softness. The Nubuck finish and often times suede is achieved after the leather surface is brushed to the extent that a soft feel, reminiscent to velvet appearance is reached.
Two Tones or Dual Tone
Referring to the spraying of a second color or lightly hand-wiped over the original color is what the two-tone finish is all about.
There is no right or wrong for this finish though it does give a distinct appearance to the leather.
Metallic or Pearlized
Utilizing metal flakes to reflect light and change the sheen of the leather is what is referred to the Metallic or Pearlized finish.
This finish can be carried out on any pigmented leather to give a special effect and appearance. We highly advise you to try a lightly sprayed coat or a hand-wiped application.
Transparent
Often found on Nubuck or aniline leather, this finish allows a more natural look where grain or any type of natural scar or marking is visible. This finish is best hand-wiped on the leather.
Hybrid or Semi-Aniline
When a light protective coat (top coat) is applied along with a hand-wiped pigment dye to any aniline leather, the surface has some distinct qualities that give it a pigmented leather appearance.
Usually, this is done to cover an imperfection or give the leather more durability.
Wax and Oil Finishes
A leather treatment using wax or oil finish to give the leather a unique look and feel that is often found on a small percentage of leather goods.
These types of finishes are not repairable, unlike any other type. The wax or oil is what prevents the dyes from absorbing or bonding with the leather.
Types of Application
Hand-wipes or Sponging
Used to change the look and appearance of leather, this type of application involves sponging or wiping off a leather dye over an existing color.
Whether you choose to use a cloth, sponge or any other applicator to give a distinct effect. This is also a good way to achieve a two-tone effect as mentioned above.
Brush Finishes
This type of finish is often used when repairs are needed, as this helps blend color and create designs. It is difficult to conceal the brush strokes though. Foam brushes work best for applying leather dye to small surfaces.
Sprayers
Considered to be the best way to apply the leather dye, especially when several light coats are needed to make a repair area blend well together.
An airbrush or touch-up spray gun gives you better control over the area you are working on as well as the pattern in which you are working.
Vinegaroon Wonders
An old-fashioned yet economical technique for dyeing leather a jet black color is how Vinegaroon got its recognition.
A blend of vinegar and rust, the color will not rub off onto fingers, clothes or anything that it may be in contact with.
Also, the dye can be saved for later use which serves as another notable perk.
This method works especially best on vegetable tanned leather or antique leather. If the leather is already dyed, it is probably chrome tanned and sealed so Vinegaroon will hence, not give positive results.
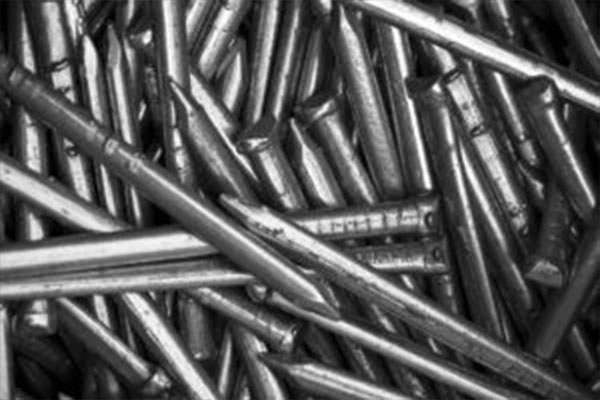
Choose a Source of Rust
From uncoated iron nails, iron shavings to any other material that will rust and in an ideal scenario, already rusted, you have quite a few options to choose from.
Steel wool is one of the fastest options to date since you can tear it into smaller fragments. Get rid of the oil coating that prevents rusting by dunking it in acetone, squeezing it out and then letting it dry completely.
Warm the Vinegar
After heating about half a gallon (two liters) of white vinegar or apple cider vinegar until it is hot but not too hot to touch, pour it back into the container it was sold in or any vessel that is available.
Drop the Metal into the Vinegar
When the metal is dropped into the vinegar, after some time; it will react with the vinegar (acetic acid) a form of a substance called ferric acetate, which in turn reacts with tannins to dye the leather. The amount of iron to add depends on the concentration of the vinegar.
The easiest way would be to start with a large quantity (thirty nails approx.) then keep adding metal until it stops dissolving.
Next keep it in a warm, ventilated container for at least a week. Punch a hole in the lid to let off gases, or the container could possibly explode.
With the lid closed and placed in the location for at least a week or two, the Vinegaroon is ready when all the iron is dissolved and there is no smell of vinegar. Should there still be traces of vinegar smell, add more iron.
If iron is already present, simply heat over the stove to speed up the process. Once the acetic acid is gone, any remains of iron will rust normally, changing the liquid to a deep reddish colour.
At this point it is okay to leave the lid off for a few days to help the last bits of acetic acid to evaporate. Filtering is important at this stage, so filter the liquid by running the Vinegaroon through paper towels or coffee filters repeatedly until the liquid is free from solids.
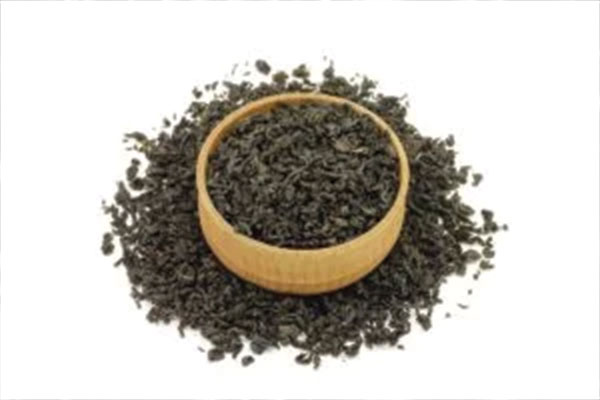
Black Tea and Leather
After brewing an extra strong black tea, let it cool. Soak the leather in it to add extra tannin.
This will improve the effects of the Vinegaroon and even help prevent cracking. By then soaking the leather in Vinegaroon for half an hour, the liquid will penetrate the leather and add a deep, permanent dye.
You need not to be alarmed if the color is a bit grey or even bluish grey. It should deepen to black during the process and transfer to an even darker tone after oiling.
After a couple of days, it is good to test a portion of the surface and if it cracks, dilute the Vinegaroon in water and try the process again.
By mixing 3 tablespoons (45 ml) baking soda in one quart (1L) of water neutralize the leather by saturating it and then rinsing it with clean water.
In turn, this neutralizes the acid in the vinegar solution to keep your leather from decomposing in the future.
Leather Conditioner using Oil
While the leather is still damp, run your favorite leather oil over the surface, giving it two coats or as needed to completely condition the leather.
Choose the oil that works best for your leather product by doing a little test on a small portion of the leather.
Speaking of oil and conditioning, did you know you can use mink oil to darken leather? Mink oil is a natural lubricant that soaks into leather to condition it.
It also has a waterproofing quality that helps protect leather from mildew, mold, salt etc. but be warned that mink oil is quite controversial since it can leave a greasy layer that repels other products which later makes polishing or enhancement, later on, really difficult to carry out.
Worse still, mink oil products are not standardized and may even contain silicone or ingredients that can damage leather.
It is therefore advisable to research the product and reviews before using it on high-quality leather.