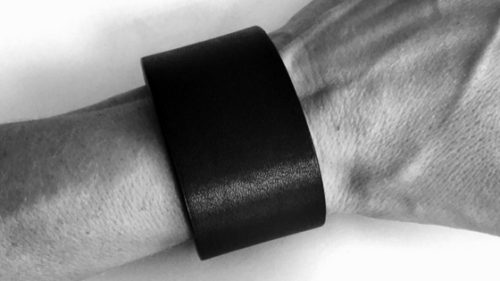
Having a leather cuff bracelet especially now when the trend is hot as ever makes for an amplified coolness that can transform your style interestingly well.
No need for making big bracelet purchases for styles that you will see many other sporting when you can go for the more original approach.
DIY!!! Here’s a fun way to customize your leather bracelet to achieve a sleek look.
What To Expect In This Article?
You will Need:
1. Strips of tooled leather
2. A ruler
3. Sharp scissors or utility knife
4. Leather glue
5. Leather needle
6. Waxed linen thread
7. Button snap or clasp closure
Now let’s get started!
First Measure then Cut
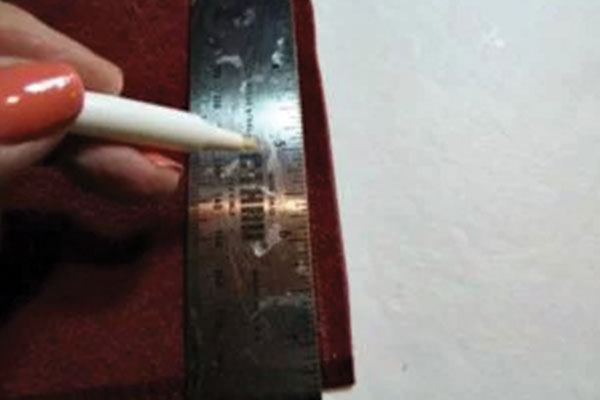
Before starting anything, measure the leather using a ruler and mark approximately 2 inches in width.
How do you get this? You could also measure the length of your wrist and add one inch. Once this is done, cut the leather using sharp scissors or utility knife.
Layer it Up
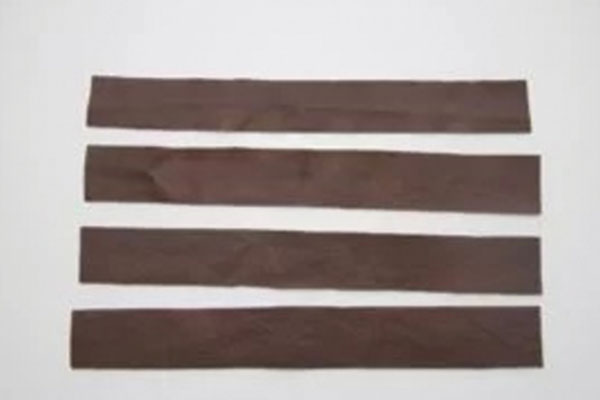
By attaching your sized and cut leather piece to a larger tooled piece of leather by using leather glue gives it a finished look.
Once you have attached the two, use your fingers to smooth out any wrinkles and leave to dry overnight.
Cut to Size
Trim the edges of the tooled leather so it matches your original leather strip. You should now have an almost finished double-sided leather strip.
Stitch the Edges
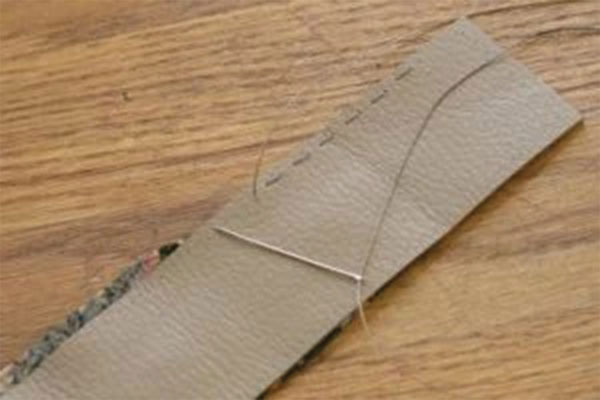
Now you can stitch the edges of the cuff by using a leather needle and waxed linen thread. Any type of stitch can work at this point, which makes it truly unique.
The stitching is simply to secure the edges of the leather and giving it a professionally crafted appearance.
Clasp it Cool
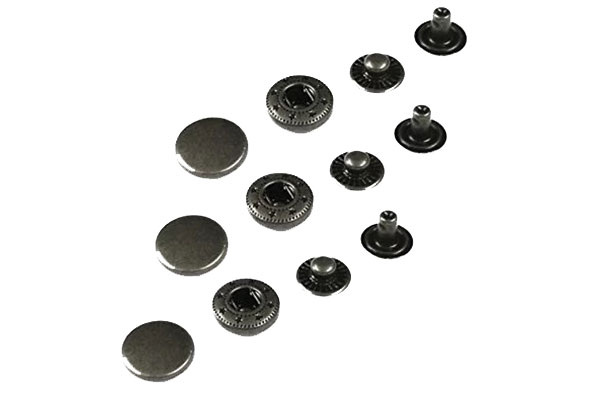
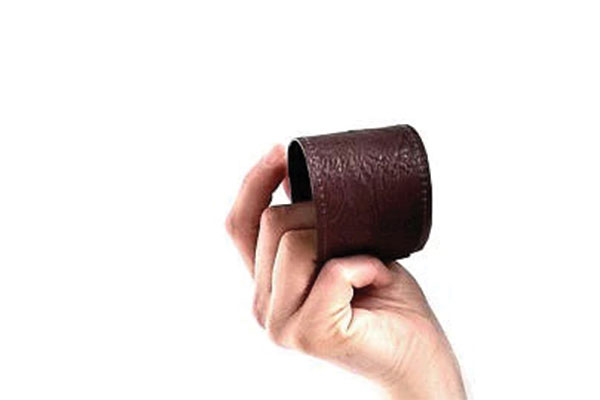
Using your leather needle and waxed linen thread or the leather glue if you choose, secure your snap buttons or clasp to either end of the cuff. Your leather cuff is now ready.
Fun Fact
You can also add further detail to your snazzy leather cuff or bedazzle it using studs and other cool elements for a more edgy look.

